Cheap crafts are the best, right? I really love it when I see or think of a project and I don't have to make a list of things to buy for it, so when I saw these kitty planters made from plastic bottles, I knew I was going to have to give it a go!

To make these I used three 2-litre soft drink bottles, scissors, chalk-board spray paint, and chalk. I also made templates for the designs using A4 paper and a pen, which I then transferred onto the bottles using a permanent marker.

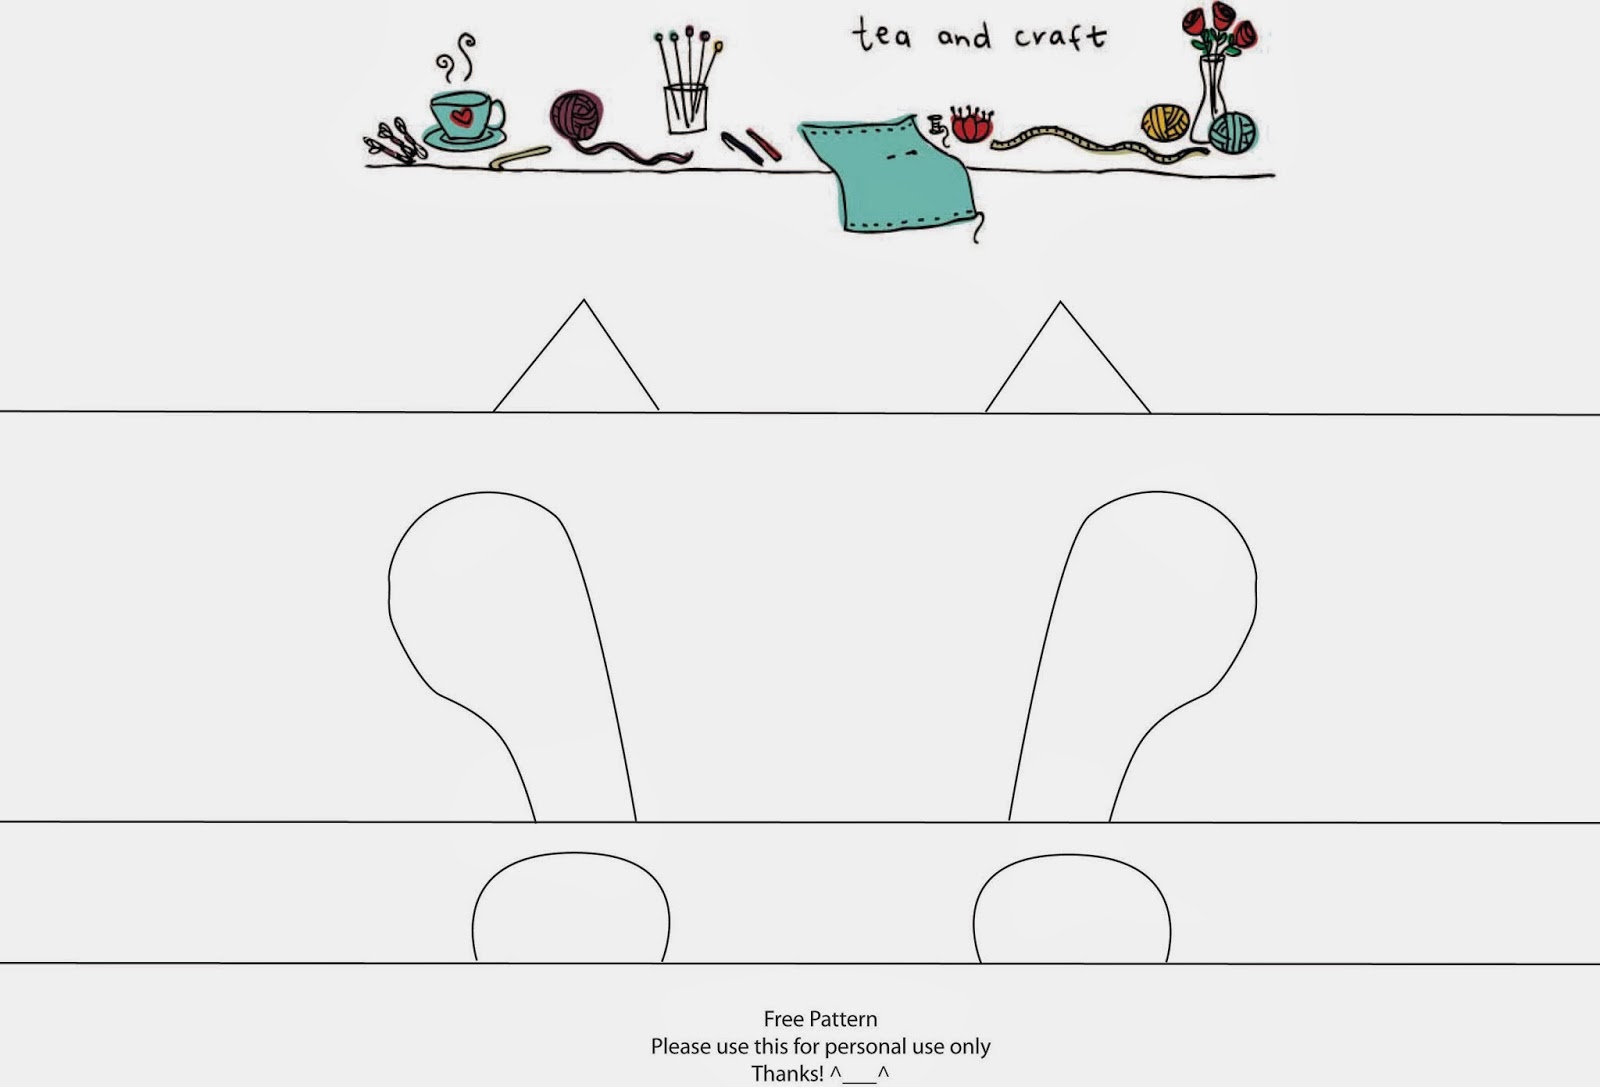
The templates are very easy to make - just draw a horizontal line across your piece of paper and then add ear shapes! For the cat I drew triangles, for the rabbit I traced around the handles of my scissors, and for the bear I went around the bottom of a jar of nail polish.

Once you've got your templates, sticky tape them to your bottles and trace around them with a marker. Don't worry if you make any mistakes because they will be covered up by the spray paint ^___^ I used scissors to cut the bottles into the right shapes; I did try to use a scalpel but found that I had much better control with the scissors. If you're going to use these for planters, make sure you add some little holes in the base for drainage.

Then give your bottles a coat of chalk-board spray paint, wait for them to dry, prime them with chalk (that's just rubbing chalk all over it, and then wiping it off again), and then you can draw on the faces! Yay! ^___^

I love using chalk-board paint, because I adore the old school look it has, and it also makes adding the faces so much less stressful! Oh, it's not perfect? Rub it off and try again! ^___^

Chalk-board gives you a lot of possibilites; you could write on labels if you wanted to remember what you'd planted in each one, for example, or add names if you were giving these as gifts.

You could also change up what animals your planters are - the cat could also be a dog, and the bear could also be a mouse ... but I must admit I'm stumped on what else the rabbit could be! ^___^

My little bear has a terrible skin condition; poor bear! This is because when I first sprayed the chalk-board paint, a lot of gunk came out! I'd recommend spraying a bit of the paint on a scrap piece of paper or something first, so your animals can be bump-free! ~___^

I hope you like him anyway, I still think he's rather cute! ^___^

I think these would be perfect for a little kitchen window sill herb garden. What would you use them for?
- Lisa xx
P.S. I'm
back to uni on Monday, so I'll be going back to a weekly posting
schedule to leave more time for my studies. But you can always follow me
on Instagram to see what I'm up to day by day ^___^
8 comments:
I love the little bears ears! <3
Thanks Alexandria ^___^
These are great! I was just talking about trying an herb garden, so these will be perfect.
Awesome Kat! I'd love to see what nerdy spin you'd put on them! ^___^
So sweet! When it comes time for my annual attempt at herb growing, I'll definitely be using these for planters!
Thanks Bec! I wish you luck with your parsley! ^___^
Brilliant idea! I would definitely try this one day. <3
Kathy
www.mypeachdays.com
Thanks Kathy! ^___^
Post a Comment